


Yoto Make Your Own Cards (Step by Step Instructions)

Ad – This Yoto Make Your Own Cards post contains affiliate links
It’s no secret that we are HUGE fans of Yoto in this house. A great alternative to screen time. my kids adore listening to audio books, sleep sounds, stories, radio and podcasts both before school whilst eating breakfast and before bed to help them settle down to sleep. If you’re new to Yoto I recommend that you check out my full Yoto Mini Review as a good place to start, with our full review of the Yoto Player coming very soon (watch this space).
The Yoto Players work using cards that are inserted into the player to play the content and with a huge range of cards available to purchase, chances are you will be spoiled for choice when trying to find the Best Yoto Cards for your child. The part where Yoto gets really exciting is via Yoto Make Your Own Cards (MYO) and this guide will give you step by step instructions on how to make your own Yoto cards to enjoy with your family.

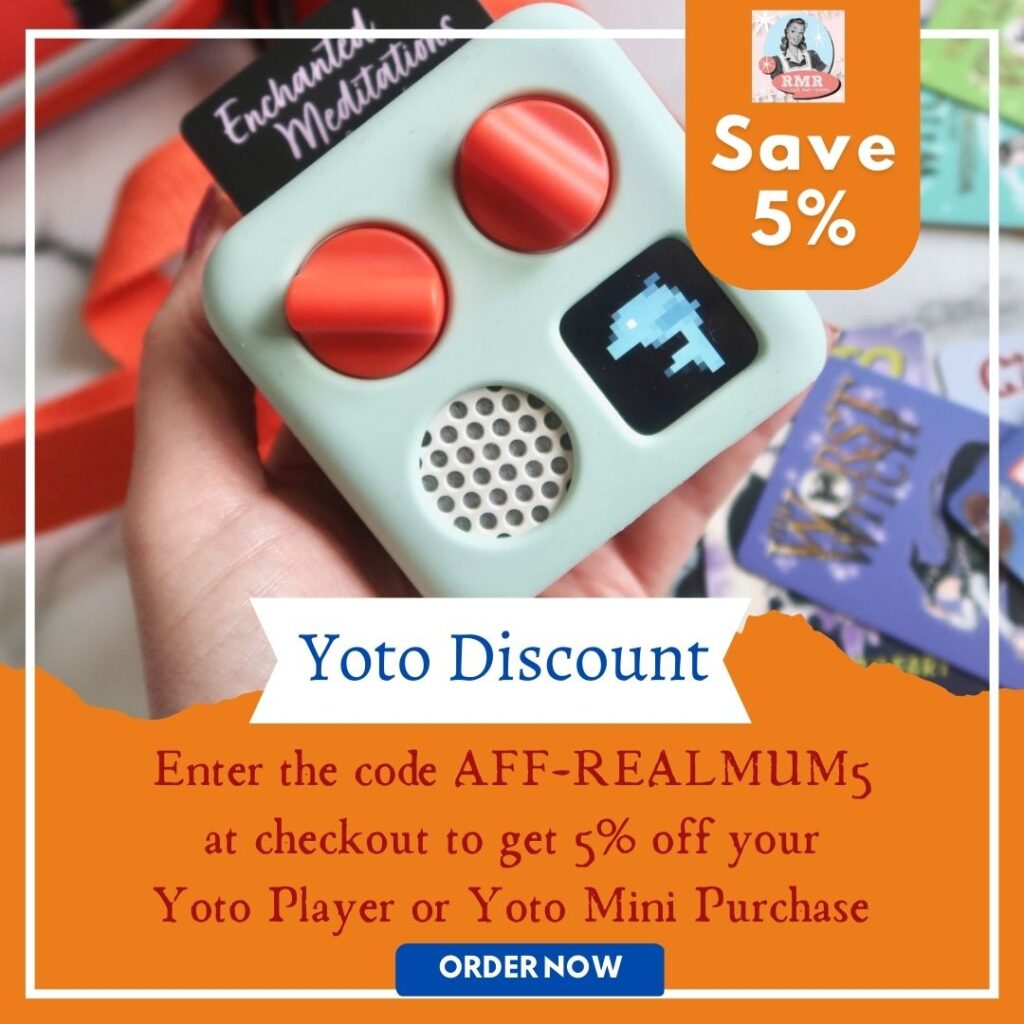
Looking for a Yoto Discount?
Get 5% off a Yoto Player or Yoto Mini using our exclusive code.
Simply add to your basket and enter the code AFF-REALMUM5 at checkout!
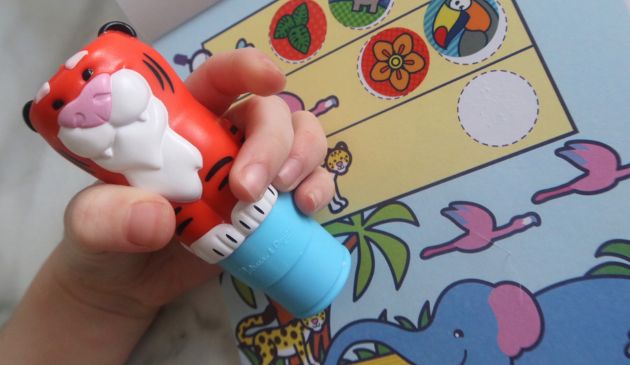
We have amassed quite a collection of Yoto Cards now, but have recently dabbled with the world of Make Your Own, which brings with it a never-ending range of opportunities to help entertain, comfort and calm your child before bed. You receive one MYO Yoto Cards with every Yoto device purchased, but you can also buy bundles of Yoto Make Your Own Cards (MYO Cards). These can be reused over and over again as your child’s preferences change and even have personalised Yoto icons to bring the audio to life.
If you’re recording blank Yoto cards for the first time, here’s what you need to know!
Where can I get Yoto Make Your Own Cards (MYO Cards)?
If you’ve already purchased a Yoto Mini Player or a Yoto Player, you will already have one Yoto MYO Card included with your purchase. However, it is likely that you’re going to want to create a few.
Here are some places to buy Yoto Cards:
- Pack of Ten Yoto Make Your Own Cards (This pack includes sticker sheets and works out best value for money) – £19.99
- Pack of Five Yoto Make Your Own Cards – £12.99
- Limited Edition Spring Design Make Your Own Cards (5 pack) – £12.99
- Limited Edition Summer Design Make Your Own Cards (5 pack) – £12.99
- Single Make Your Own Card – £2.99
Yoto Make your Own Cards for your Yoto Player or Yoto Mini Player
MYO Yoto Cards work in exactly the same way regardless of whether you are using them on the original Yoto Player or the Yoto Mini Player. Essentially MYO Cards are Yoto blank cards that can be recorded with any content you like. You can change, update or overwrite the content whenever you like as your child grows, or add stickers to make the MYO cards a permanent card in your chid’s Yoto Library.
What can you put on Yoto Make Your Own Cards?
When it comes to adding content to Yoto Make Your Own Cards, the opportunities are pretty much endless – you can fill with any audio you like to create an individual and personalised playlist for your child. The best news is – its WAY easier than it sounds (you don’t need to be a technical genius) and the Yoto MYO Cards can be reused over and over again.
A great place to start is by recording your own voice using the Yoto App or voice recorder on your phone and assigning it to a playlist. This could simply be a bedtime message, a goodnight from Grandparents, or you reading some of your child’s favourite stories aloud. This is where we started with the Yoto Make Your Own Card that came with our Yoto player device. My daughter’s favourite book is Milo Goes Bananas, so I simply read the book aloud before assigning to a card and adding a pixels image. It’s way easier than it sounds I promise! 🙂
You can also add songs, mp3s, or audio books where you have legally downloaded the content. It’s worth knowing that Spotify tracks are protected and cant be converted to mp3, so check your content first to avoid disappointment.
What content can I put on a Yoto Make Your Own Card?
Basically any content that you own can be added to a Yoto MYO card – here are some examples of how to add tracks to your Yoto Make Your Own Card.
Yoto App Voice Recordings: If you’re wishing to record your own voice (whether that be conversations, stories, singing or reading a book aloud), the easiest way to do this is recording directly on the Yoto app in the Make Your Own section. Simply click on the Recordings button and find a quiet place to record your audio.
Buy Music or Audio Books from Amazon: Amazon allow you to purchase MP3 tracks – this could be audio books, music or the digital version of a CD – which is ideal for popular soundtracks of your child’s favourite music or band. These will generally save under iCloud downloads if doing this on your phone.
Convert tracks to MP3 – This isn’t an area I am knowledgeable about yet , but there is a way to legally convert files to MP3 (charges apply) – please check copyright first however, I don’t want to encourage anyone to download content illegally!
What content have I put on my MYO Cards?
At the point of writing I have made two types of MYO Cards – the first is me reading aloud some of the books we already own. Neve absolutely loves hearing my voice and expressions and can either read along with the book in front of her or just snuggle up in bed and listen as she settles down at night time. I have also downloaded audiobooks from BorrowBox via my local library, which has a whole host of audio book content where the entire audio can be downloaded as an MP3 file. This can then easily be linked to a card using the process below (although you may find BorrowBox a little easier using a computer).
How much content can you put on Yoto Make your Own Cards?
There is a generous limit for each card (you’d have to go some to fill it!) as follows
- 100 tracks per card
- 1 hour running time for any single track
- 100MB maximum file size of any single track
- 500MB maximum total file size of the audio content for any one card
New updates to the Yoto App (2023)
Before Making Your Own Yoto Cards, make sure you’re using app version 2.60 which has some new improvements to make MYO much easier! You can now:
- Upload voice recordings in-app
- Easily rename your recordings
- Add a chime feature to separate chapters
- Quickly Link a Make Your Own card with your phone by tapping
- Edit Make Your Own playlist names and descriptions, and rename, reorder, and change the icons of your tracks
What format does the audio need to be in?
You can make Yoto cards with any content that you legally own that is in an MP3 or AAC/M4A format.
iTunes content uses AAC / M4A files and you can purchase digital MP3 downloads on Amazon. According to Yoto, many audiobooks purchased on iTunes tend to be DRM protected, so you unfortunately will not be able to use these for Make Your Own cards.
Do you need a laptop to create Yoto Make Your Own cards?
No, if you’re adding tracks from CDs you already own then obviously you will need a laptop to do this, however if you’re simply downloading MP3 audio or recording your own voice, you can do this on your iPhone or android device.
Where can I find free content to add to my Yoto MYO Cards?
First up, it’s important to check the legality of adding content to MYO – i.e. you should only upload downloaded content that you have purchased or own. If you ‘borrow’ audio content e.g. from Borrowbox, you should delete the mp3 audio once the book has been returned.
Other sources to collect free content for Yoto MYO cards include:
- Podbay.fm (podcasts)
- Librivox.org
- Hive – reasonably priced audio books
- Downpour
- Purchased music from Amazon music (MP3)
You can also look for cheap audio books on CD in local charity shops or on ebay/Facebook market place, and add them via the hard drive on your laptop.
How do you add content to your Yoto Make Your Own Cards?
The process of adding audio content to your Yoto cards involves the following:
- Creating a personalised playlist
- Linking to a card
- Adding pixel icons (to display whilst they listen to each track
- Labeling your MYO card
Step by step instructions on how to make your own Yoto cards can be found below.
Step by Step Instructions – How to Make Your Own Yoto cards
It’s worth saying that the first time you do MYO cards can be a little confusing, but trust me, when you’ve done a few it’s really very straight forward. Hopefully my instructions will make it as simple as possible. Here are step by step instructions on how to add your own content to the Yoto MYO Cards. I have made our MYO Cards using an iPhone, but I imagine the process is very similar on an android or google device.
Make sure you have the audio content saved on your phone ready to go, or that you have already recorded your own audio on the Yoto app.
STEP ONE – Open the Yoto app on your phone and scroll to the Make Your Own menu (either by using the More down arrow, or simply swiping right from the My Library Menu. Once in the Make Your Own menu, click on the “Make Playlist” option (large blue rectangle) which will take you ti the My Playlists section of your account. You may be asked to login.
Alternatively you can click on to the Safari browser and go straight to https://my.yotoplay.com/my-cards and login, this should then bring up ‘My Playlists’ as above.

STEP TWO – Click on “Add playlist” on the top left hand side. You will be asked to give your playlist a name so you can easily recognise the content. You can also select a picture that will show on the app so you can easily recognise each MYO card. You can upload your own image, or choose from a variety of different Yoto options.
Please note, this is different to the pixel icon that displays on your player when the MYO Card is being played (we will come to that bit later!)

STEP THREE – Click on “Upload Audio” button
STEP FOUR – Your phone should bring up a downloads folder where you can select the MP3 from any available tracks on your phone. Alternatively, if you click on Browse, you can scroll through to either the iCloud Drive, or downloads section manually to track them down. For Yoto voice recordings, select ‘On My iPhone’ and then select the Yoto Folder. Any voice recordings you have made will be saved there.

STEP FIVE – Select the audio you want to add, before pressing open, which will add the audio to your playlist. Each download item becomes a separate track and depending on the length of the audio it can take anything from a few seconds to a few minutes to upload. Please note – you can reorder the tracks if you wish. To do this, simply click on the three blue lines on the left side of the track to drag it up and down and drop where you’d like it to be. You can change the name of each track here too if you wish. When you’ve added all your tracks – press Create.
STEP SIX – Adding Icons – You can add an icon (yotoicons) for each track of your Yoto MYO Card. This will then be displayed on your Yoto Player or Yoto Mini whilst you are listening to the audio (Something which my youngest daughter absolutely loves). To change the Yotoicons, simply click on the + symbol next to each track. Here you can select from a choice of ready made Yoto Icons or upload your own. (See the Creating your own Yoto Icons section below). .

STEP SEVEN.- Once you are happy with your edits, press UPDATE to save your playlist.
STEP EIGHT – Your new Playlist should now appear under the Make Your Own section on the Yoto app. You can then either play it from your phone (selecting which device you want to play it on) or link to a MYO Card so that your children can select it as an option in their Yoto card Library. To link to a Yoto MYO card, click the 3 dots on the top right and select “Link to a card”. You then need to insert a blank MYO Card into your Yoto Player and press link.
DONE – You have now made your very first MYO Card (and trust me when I say this) – It’s quite addictive. Read on to learn more about creating your own Yoto Pixel images. You can also decorate your Yoto MYO Card with stickers, labels or simply write on the card (although the latter is a bit too boring for my liking)
How to add Yoto icons / Pixel Images
When you reach Step 6 of the MYO Card process, you have the option to add Yoto icons / pixel images to your tracks. When you do this, a pixellated image or yotoicons will display on your Yoto player that represents the track, and also gives your child something to look forward to as each track is played. My daughter is six, and loves seeing what pixel images appear for each track I have created.
There are a few places to get Pixel images for your Yoto Tracks. The first is to simply select one of the Yoto icons – a selection of ready made images. There are quite a few to choose from, however, if you’re reading a very specific book or story, you may prefer to create your own.

The first place I tend to look is at Yotoicons.com – this is a BIG and growing library of Yoto icons that you can choose from via a search term – e.g. TIGER, brings up 27 options that have all been lovingly (and painstakingly no doubt) created and shared by parents and Yoto users.
If you’d prefer to make your own you will need to create a 16 by 16 pixel grid for your tracks. We use the app 8bit-painter – which is completely free to download and use. Here you can upload a photo and it will create one for you (with mixed results!) or you can bring out your inner artist and create your own. Its obviously blocks so a little more Picasso than Monet, but have to admit I actually found this really fun. Here are a couple of mine that I made in literally minutes.


How to label your Yoto Make Your Own Cards
To make the most of your MYO Cards, you can create your own labels that can look really professional. Here are our favourite options to create labels for your blank Yoto cards.
- A4 matt vinyl sticker paper from Amazon and then create a word document with a selection of 8x5cm images.
- Use a HP sprocket or Kodak photo printer – the photo stickers can be trimmed slightly to fit Yoto MYO Cards.
- Boots Photo Stickers – can be purchased online.
Now if you’ll excuse me, I’ve well and truly caught the Yoto MYO bug and off to record some more content! Hope you find this helpful!


