


Overhauling our Office with Picture Rail Wall Panelling
*AD This post features gifted items from Desenio
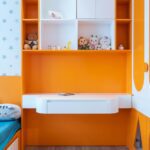
As my regular readers will know, this house has been through quite a few changes since the start of lockdown, including building a new kitchen extension and the addition of an extra room/office at the back of our very long garden.
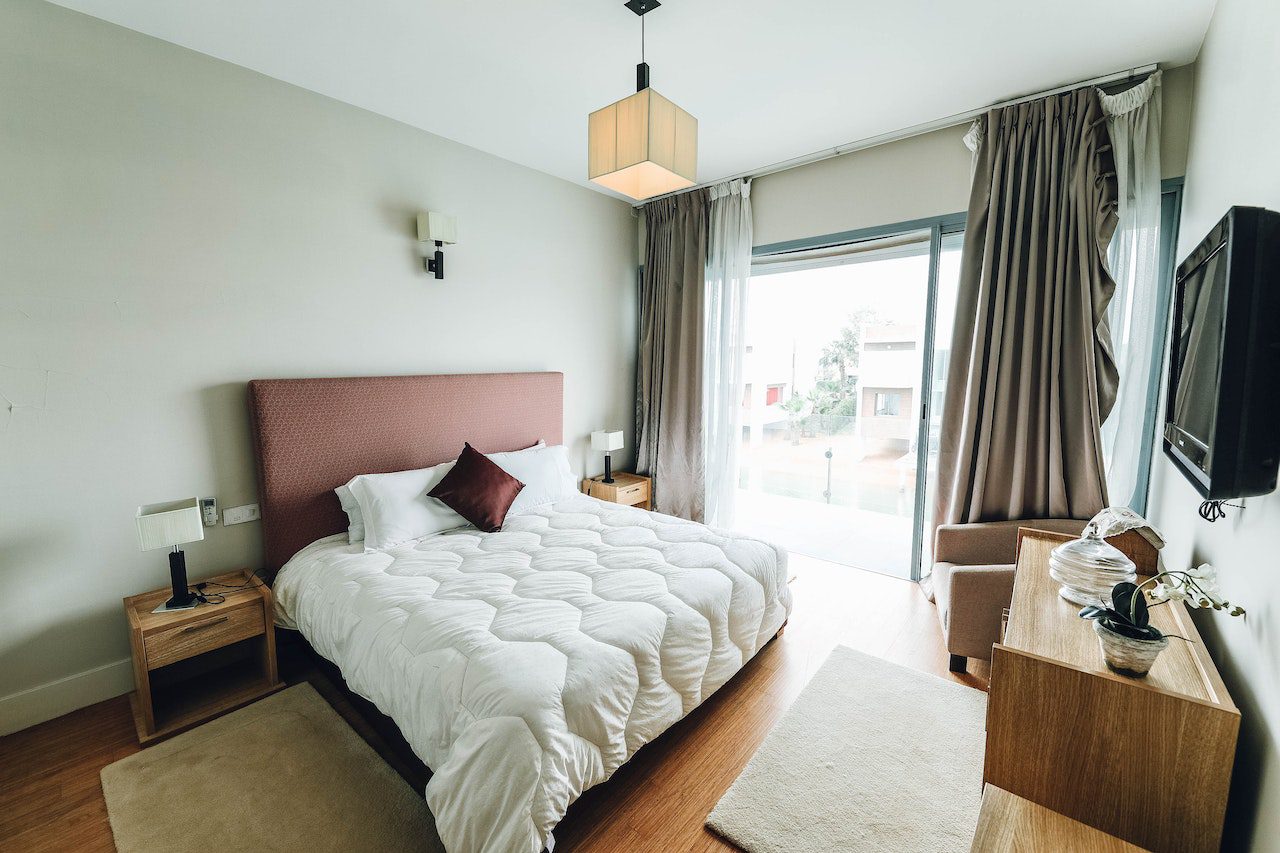
After working at my dining room table for two whole years (usually surrounded by the kids toys and having to clear away my work every evening before tea) we finally decided to take the plunge and invest in a garden office for our home. We hired a carpenter and did a DIY build and I can honestly say it was worth every penny. We chose to create a space with a duel purpose – somewhere I could comfortably work in the daytime (and shut the door on my work at the end of the day) but also a snug / living space where we could chill out and watch TV in the evenings or have movie nights with the girls. My partner is a huge fan of football, so a place where he could head with some friends to watch the match on a big screen certainly had its appeal!
Since my employer has adopted a hybrid model of working going forwards, I now spend my working week with a mixture of working from home and working in the office. I have found the flexibility and work-life balance of this hybrid way of working really beneficial, allowing flexibility for my childcare and social arrangements, spending less time commuting and more productive working time in the familiar comfort of my own space.
Having worked in my new environment for a few months now, I was keen to add a bit more individuality to the room. The first step was attempting a DIY wood panelled wall with an integrated picture rail, adding a splash of colour whilst displaying some of my favourite prints and artwork.
DIY Wood Panelling
I’d seen DIY wood panelling being done a lot on Pinterest and Instagram and thought, really, how hard can it be? Thankfully I also have a partner who is pretty nifty with DIY tools and know-how, so with his help, we set to work on creating our own specification that met our requirements.

We bought pre primed wood to make life a little bit easier, but you can create a panel wall using simple mdf which is kind on the purse strings. You can attach to the wall using no nails glue or a nail gun (or indeed a combination of both). The one thing I will say is to make your measurements carefully. We knew that we wanted a fairly high height picture rail, but the measurements and spacing between panels need to be measured super accurately to ensure a consistent distance between each panel. It’s also great to make sure that the panels are even, using a spirit level of laser tool to ensure accuracy. We did stick one panel in the wrong place which was eventful and resulted in a lively debate, but we got there in the end!

The hardest part of the process was preparing the wood for painting, sanding down the joins and filling cracks with decorators chalk to avoid creating a coating that the paint wouldn’t cover. We opted for Farrow and Ball Pavillion Grey which was a relatively light grey shade, but I can definitely recommend Valspar paint too, which is great for rooms where your wall may get knocked or touched with kids sticky fingers!
The painting did take a few coats, and I do still have a bit of touching up to do, but overall I am really pleased with the finished effect. Neve of course wanted to help and it was very cute watching her take such care with a minature roller!

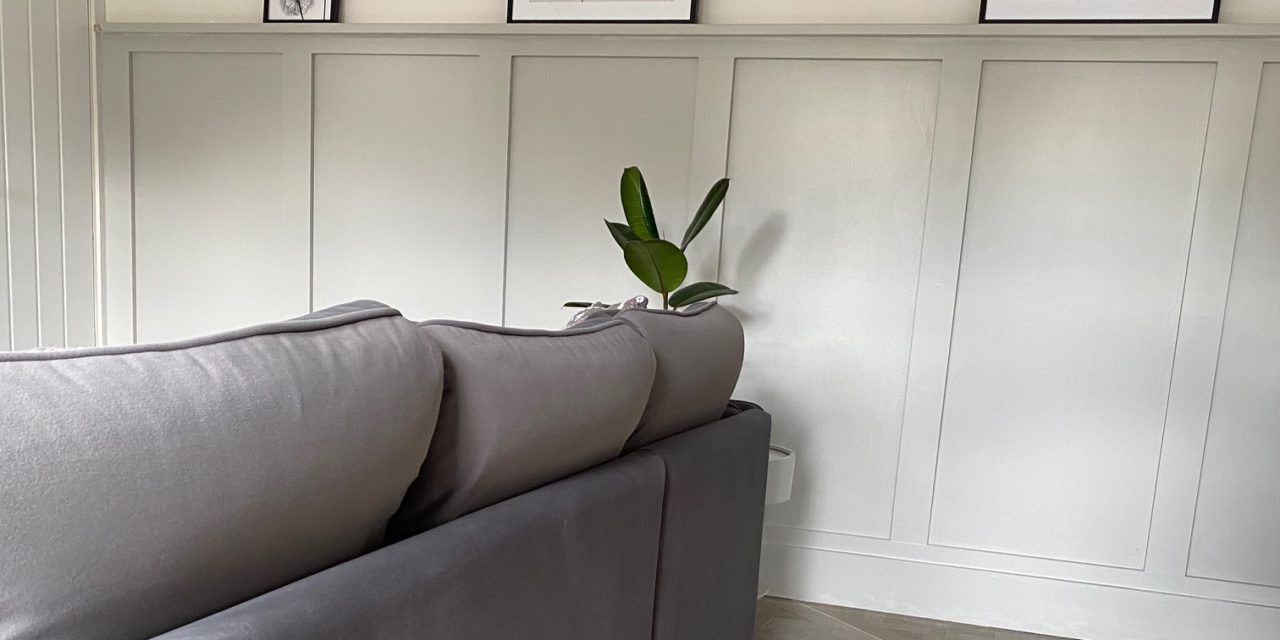
After
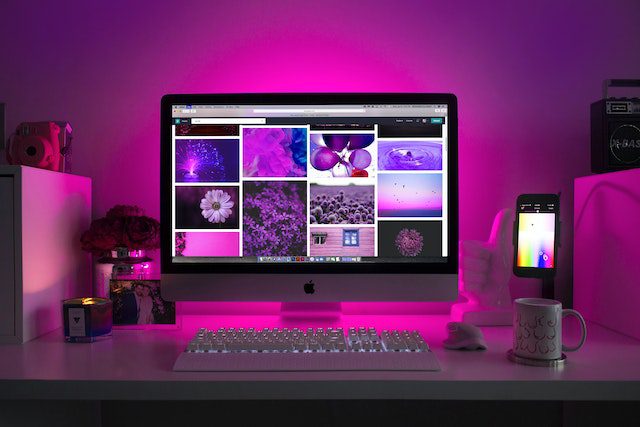
When the wall was dry, we then got to the fun part, decorating the wall with a range of our favourite prints from Desenio.

Desenio have absolutely loads of modern, on trend designs to choose from and they are always at really affordable prices too. There are having a HUGE midseason sale at the moment, with lots of discounted options of up to 45% off prints at the moment, meaning you can save even more off their already very reasonable prices and update your living spaces without needing to spend a fortune! By far the hardest part is deciding which prints to choose, as there are always plenty of options to suit every style and taste – you can check out their bestselling options, collaborations or the latest seasons trends, or search for prints under a certain theme, such as black and white, nature prints or retro and vintage. As well as prints, Desenio also have a wide range of wall hanging options, from frames to mounts, hooks, picture ledges, poster hangers and even washi tapes to create a look that is completely personal to you.
If you’re struggling to picture how the prints will work in your space, you can even check out Desenio’s inspiration rooms for lots of ideas on how to combine prints into gallery walls, centre pieces and themes to match the rest of your interior.
I wanted to stick to a monochrome / black and white them in my office and love the simplicity of the designs. Next to finish the overall effect, I want to purchase some hanging / trailing plants to dot between the images. I’ve also bought some additional prints so I can swap around and mix up the frames to reflect the seasons.

So what’s the verdict?
So what do you think? Overall I am xhuffed to bits with how our panel wall has turned out. I think the prints look great and have totally changed the look and feel of the room. If you’re thinking of giving a doing a DIY wall yourself I can definitely recommend it – a huge impact with very little effort and I love it.


