Make your Own Cardboard Dolls House
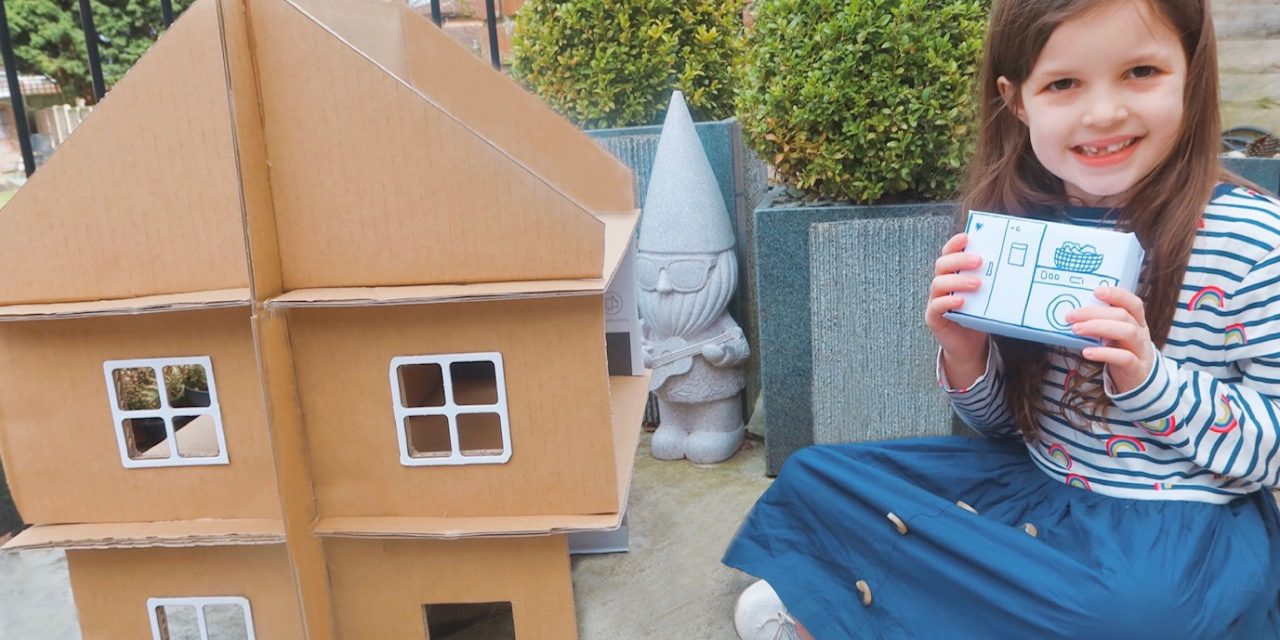
Everything you need to know to create your very own step by step DIY Cardboard Dolls House!
Looking for some fun and budget friendly ways to entertain your kids? The cost of living crisis has left many families trying to cut back on their expenditure and outgoings, so what if you could create a fun dolls house out of cardboard, making a fun and sustainable toy out of cardboard that would otherwise go in the recycling bin? Thankfully now you can!
We love craft activities in this family and I also wanted to make use of some of the things we already had in the house to make and create things with the girls, reducing our waste and recycling where possible. We have made some fab cardboard creations in the past, including the Twirlywoos Big Red Boat, and it has always gone down an absolute storm with the girls. I wanted to create something that would not only entertain them during its’ creation but long after it was finished too.
We came up with the idea of a 3D make your own cardboard dolls house, which once created, could be shared between the two of them, with each of the girls having one side of the house each, with 3 bedrooms to decorate and a whole host of furniture to create and colour.
In order to make your own cardboard dolls house you will need:
- Large sheets of cardboard, or an old large cardboard box
- Other pieces of old cardboard from games / toy packaging to decorate and make furniture
- Plain white paper (for decorating furniture)
- A rular
- Scissors
- Craft knife
We were lucky enough to have some spare packaging from some Orchard Toys games (which once the tokens had been popped out of were the PERFECT window decoration!) – if you don’t have this, you could recreate something similar using white card.
If you’d like to create your own 3D Cardboard Dolls House – you can download our 3D Cardboard Dolls House Template which has all the measurements and step by step details you will need to create the pieces in the right size.
- Cut out your cardboard pieces including one centre piece, 2 gable ends and four smaller pieces for the floors and marking the location of doors and windows.
2. Cut out the holes for the windows and use the craft knife add the slits in the cardboard which are needed in order to slot the creation together.
3. Slide the two gable ends onto the slits either end of your large centre piece of cardboard, before sliding the floors into place. If you use the measurements on the guide, all the areas should fit neatly into each other.
4. Create furniture and decorate – When it comes to this stage, let their imagination do the work! We wrapped up some old packaging from toothpaste boxes, suntan lotion packaging and plaster boxes with white paper and drew on the furnishings with pen.
We hope you enjoy making your own Cardboard Dolls House as much as we did!

