


Style4Ever Unicorn Lava Lamp REVIEW (Make your own)
*gifted for review
Our real mum review of the Style 4 Ever Unicorn Lava Lamp – a make your own, DIY kit that comes with everything you need to make a light up lava lamp from scratch.
Make-your-own kits and craft activities always prove to be a hit with my daughters, who love getting creative, using their imagination and following step-by-step instructions to bring them to life. Style4Ever from Canal Toys are a great example- they have a wide range of fun activity sets with stickers, sequins and more that allow children to bring out their artistic flair.
We’ve recently out the Style 4 Ever Unicorn Lava Lamp to the test to give it the Real Mum’s verdict.
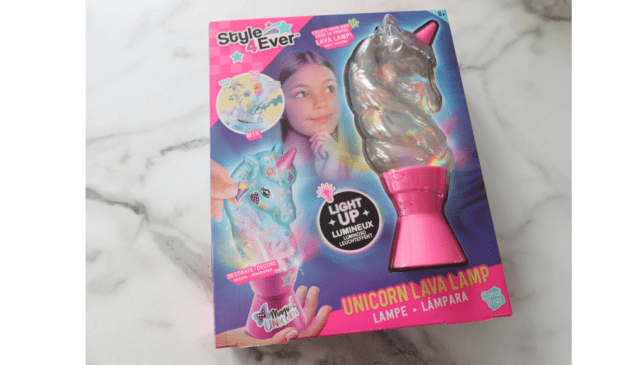
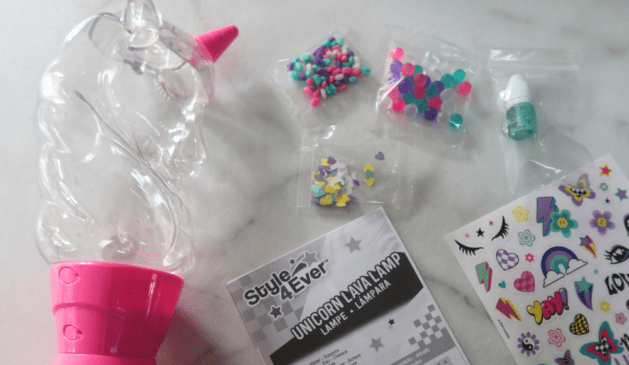
What’s in the box?
- Empty unicorn lamp
- 3 x sequins / beads for filling
- Green colouring
- Sticker sheet
- Style3Ever Unicorn Lava Lamp instructions
How to make your own unicorn lava lamp
Neve was really excited to unbox her lava lamp, laying out all the pieces on the table before we got started. From a parent’s perspective, it was great to see that the majority of the lamp came preassembled. I had been worried we would need to reattach the lamp to the base after filling, so was reassured to see that the contents were added through the top instead.
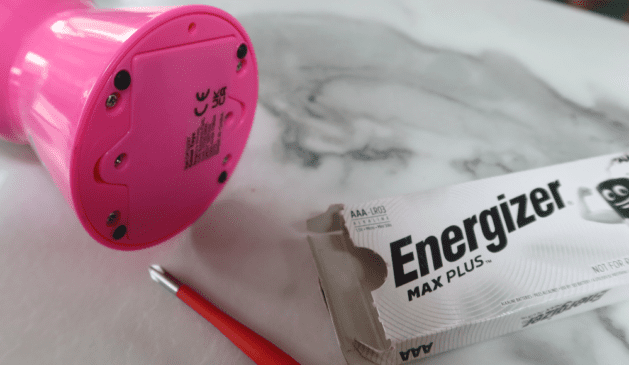
As it’s not recommended to tip the lamp once filled, we decided to add our batteries to the lava lamp before we began bringing it to life. You will need 3 x AAA batteries (not included) and a small screwdriver to open up the battery compartment in the base. This is really quick and easy to do.
FIlling your Unicorn Lava Lamp
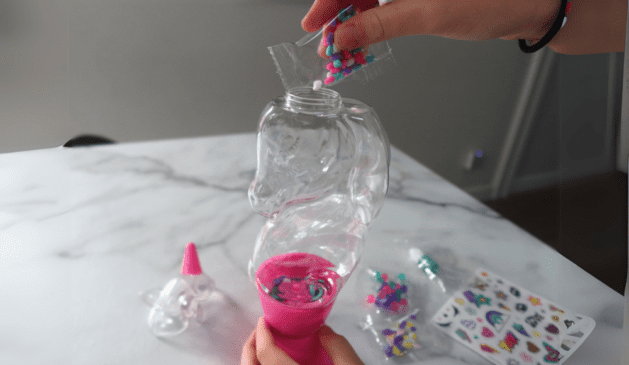
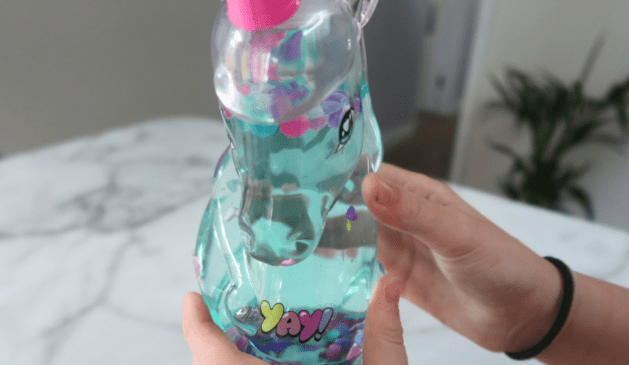
The Style4Ever Unicorn Lava Lamp comes with three packs of colourful beads to fill the unicorn shaped bottle.
The first bag is coloured bead strips in shades of pink, purple, white and turquoise, the second bag is round ‘orbeez-like’ circular beads and the 3rd a bag of shimmery sequins in heart shapes.
Neve opened up each bag without assistance before pouring the contents into the bottle – some of the sequins did fall out in the process, but overall this was a very simple and mess-free task. Parent tick.
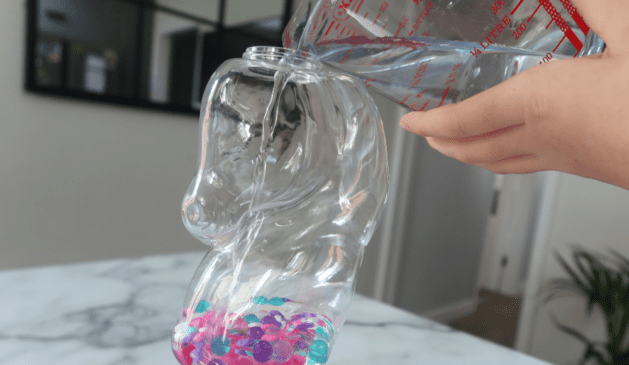
Next, it was time to add the water. The instructions referred to a ‘fill-line’, however, we struggled to see a visible line on the bottle itself, so I think this was meant more as a visual guide of how much to put in. We left what we felt was the right amount empty at the top (although in hindsight we probably could have added more). We can always top it up later.
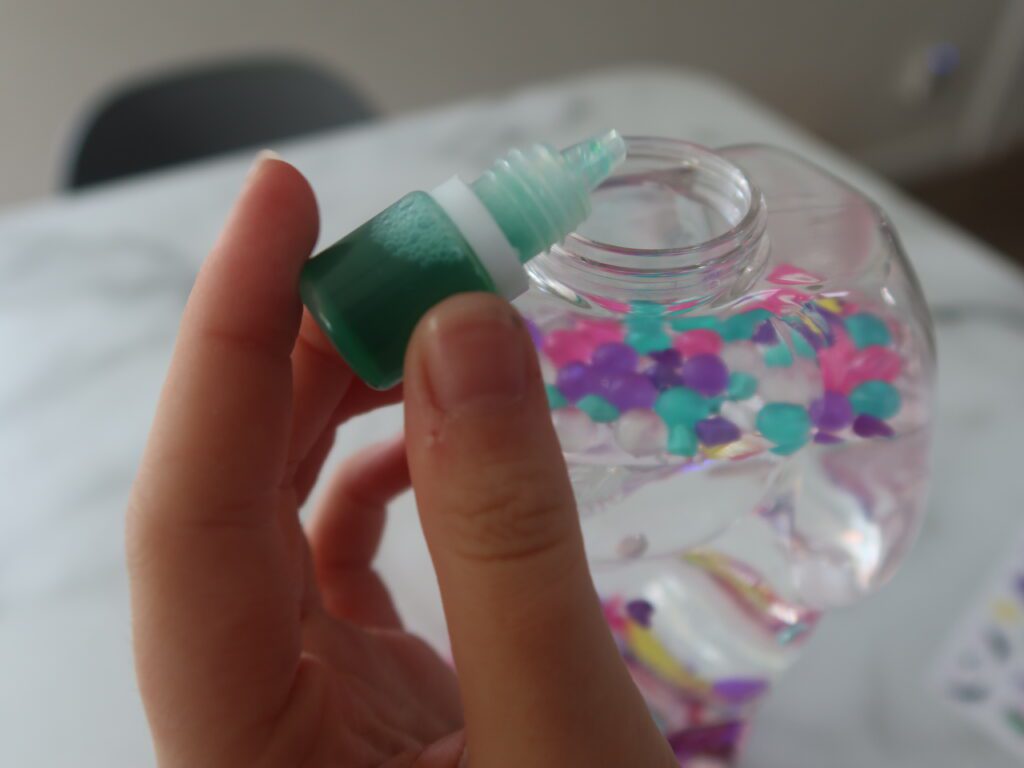
Finally, the instructions suggest adding a ‘few drops’ of the colour into the water. Neve was a bit heavy-handed here and added the whole lot from the bottle, however, I don’t think this was an issue. It actually made the colour more noticeable, so in my opinion you can add as little or as much colour as you’d like.
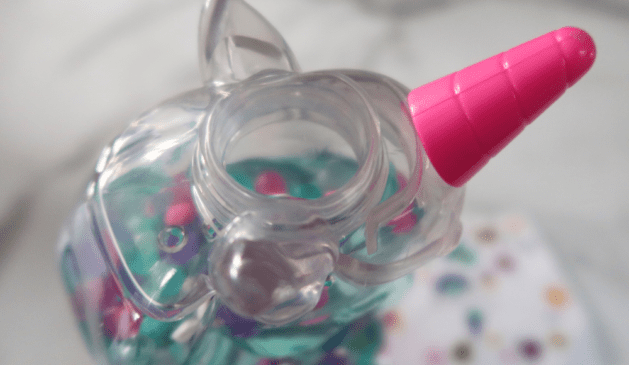
Once the unicorn lava lamp is full, you then carefully put the stopper back in place. They recommend that you don’t tip the lamp afterwards, however, I did this slightly as a test and didn’t lose any water, so it’s fairly efficient and holding the water securely in place once sealed.
Decorating the Style4Ever Unicorn Lava Lamp
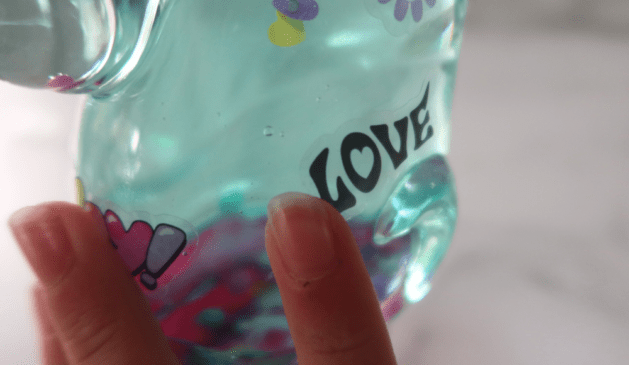
The Style4Ever Unicorn Lava Lamp set comes with a big sheet of stickers that can be added to the exterior of your lava lamp once its complete, including two different sets of eyes (one open and one closed). Neve loved the wide range of stickers included, although I did worry that these may start to peel or could become less ‘sticky’ over time.
How to turn on your Style4Ever Unicorn Lava Lamp
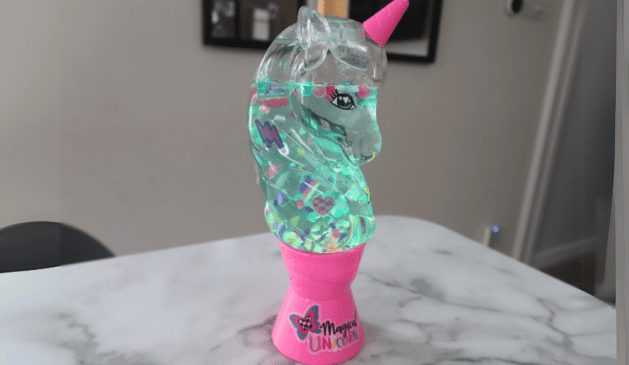
Once decorated, your make your own Unicorn Lava Lamp is complete. The whole.process took Neve around 20 minutes to create, making a fun craft activity to complete on rainy days. To turn on the lamp, you simply twist the pink bottom part of the base and the motion and lights begin. The lamp alternates between various colours and the contents swirl around which is really fun to watch.
Pros of the Style4Ever Unicorn Lava Lamp
- Fun and mess-free craft activity
- Children can personalise the exterior using the included stickers
- Fun swirls and light effects when turned on
- Easy to follow instructions
- A child can turn on and off independently
Cons of the Style4Ever Unicorn Lava Lamp
- The fill line wasn’t clear and after photographing I think we could have actually filed ours a little more.
- It can be fairly noisy when its turned on as the beads hit the inside of the bottle – so you wouldn’t want to leave it turned on when your child’s trying to sleep.
- Battery powered – so you could end up needing to replace them quite regularly.
How much is the Style4Ever Unicorn Lava Lamp?
The make your own Unicorn Lava Lamp retails at between £14.99 and £16.99 depending on the retailer.
Real Mum's Verdict
81%
Summary The Style 4 Ever Unicorn Lava Lamp is a fun and mess-free make your own lava lamp kit, filled with colourful beads and decorated with preppy stickers.


